Now for the not so great part... From my quick Google search, it seems the pattern has been around for approximately 6 years. That's a long time and loads of people must have made it. But none of the reviews and blog posts I've come across mention much wrong with it. There are a couple that talk about the straps being a bit short - which is putting it mildly - and I've also seen mentions of the finishing not being great. I found way more wrong with it than that. None of it is a really big deal alone, but when you put it all together it amounts to quite a lot of annoyance. I've paid for this pattern, I'd at least expect all the markings to be in the right places...
I have contacted Pauline Alice about this to give them a chance to respond and sent them an extract of this blog post with the mistakes I found. To their credit, they answered my email immediately and the pattern has now been removed from the website in order for it to be reviewed. But at the time of writing, if you've purchased this pattern on or before 31/Aug/2020 you will need an upgrade, whenever that becomes available.
I'd like to start by saying I used a ruler to measure the seam allowance on all the paper pieces in these photos. I then used a scorer to make the marks so I could easily fold the paper as I would have done with the fabric.
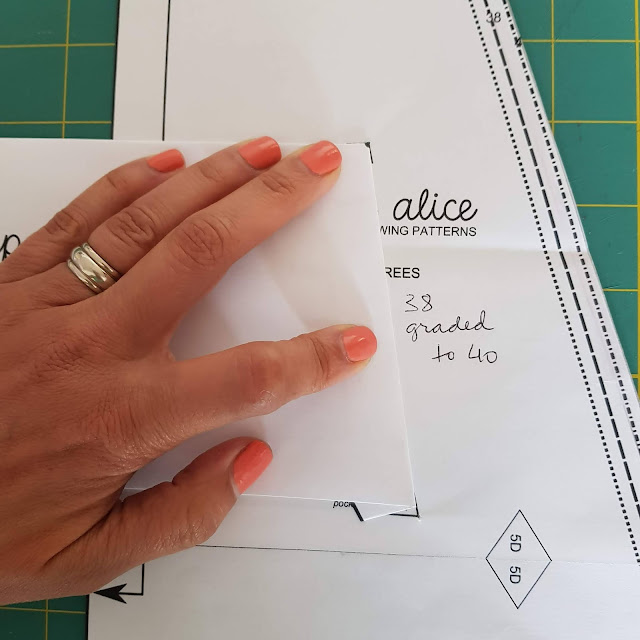
Here is my test square. Yes, I went through my recycling bin. After I started checking the stuff I'd had trouble with I was so incredulous that I wondered if my printer was off. I was sure I'd checked the square. I always do. But I thought I'd do it again and also post a photo here, so there's no doubt that my printer wasn't the issue.
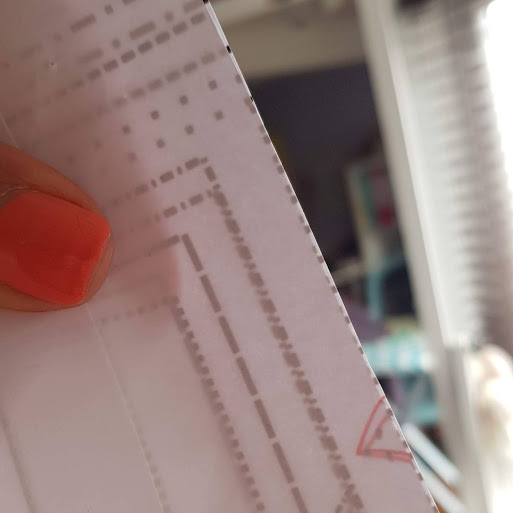
First problem, the bib pocket. A well drafted pattern should've had those bottom corners squared off in order to stop them from peeking out as you can see in the picture. I know it isn't a big deal and I snipped mine off but it should've been done for me. I'm not drafting my own pattern.
Still on that bib pocket, the bottom, top and sides are folded in, according to the instructions. If you place the pocket on the bib you can see below that there is a 3mm (1/8 inch) discrepancy between the markings on the bib and the final size of the pocket. Also, another corner peeking out at the bottom and you have to snip it off yourself.
Speaking of things that are a bit off, let's take a look at the front pockets now. If you look closely you will notice that my ruler is placed exactly at the 1.5cm (5/8in) mark and the 2 dots are not in line with each other. As far as I can tell, this is supposed to be a straight edge, which it is, so I can only assume that one of those dots is in the wrong place. I know it isn't by much but it isn't in the right place.
It doesn't matter, I'll just fold the paper over at 1.5cm (5/8in) like the pattern told me to. I didn't fold the curved edge on this one, just the sides and bottom. Yet again, it's 3mm (1/8in) off the top of the waistband if you align the corners with the markings.
Maybe it was intentional? To minimise bulk? I have no idea, but there is no mention of it anywhere and the illustration shows the pocket going all the way to the top.
On to the back facing. The facing is the trapezoid shape on the bottom. Once the 2 backs are sewn up and the straps are attached, the facing is sewn on top of it, right sides together, enclosing the ends of the straps and all the raw edges in that area. A very good idea but the facing piece isn't the right size, as you can see below:
The facing measures a total of 12cm (4.75in). One back (the paper on top with all the lines) measures 7cm (2.75in). There are 2 back pieces (2x7cm = 14cm/5.5in) which are sewn together with a 1.5cm (5/8in) seam allowance, which means we are left with a back piece that measures 11cm (4.25in) in total. So the facing is one whole centimetre (3/8in) wider than the back piece.
The legs are also off by about 5mm (1/4in). On the photo below, I matched the hem notches of the front and back leg (not my pen markings, the actual ink dots) and, if you look up to where the hem is, the dots for my size are off by about 0.5cm (1/4in).
Now for the one that really got my head scratching and I still don't understand how nobody has mentioned this issue in particular. The back pockets. As you can see, my folding marks are pretty visible. Again, I used the ruler to make sure it was accurate and it's in line with the dots.
Now, what on earth am I supposed to do with a finished pocket that looks like this when I place it on the back piece?! The pink marks are my pen marks to highlight the pocket placement for the size I was making. I have folded and unfolded this a floppity jillion times. I tried every combination and even my husband had a go. We can't make it fit. Also, that blue seamstress gauge is 10cm (4in) long, which makes this effectively a chest pocket. I mean, it is TINY!
And just in case there are any doubts, here are the instructions. I followed them to the letter.
That's all the stuff I could be bothered to look over and see whether I was imagining it. I had major issues with the crotch as well and I'm pretty sure it could've been avoided with the addition of notches, which the inseam doesn't have at all, except to mark the hem.
Oh, and the straps are REALLY short! I'm not tall, I'm not long waisted, long torsoed or anything like that but I had barely 2 inches of strap to manage to attach a buckle to. It's quite ludicrous. Luckily, because Nina is shorter, it ended up not being an issue but I had a severe wedgie every time I bent forward while wearing them.
As I said at the top, it's all pretty minor and fixable but why the hell should I be expected to fix all these things myself? I'm not the one drafting the pattern. In fact, I'm buying the patterns exactly so that I don't have to. I know most indie designers are one-woman shows and it's incredibly hard work. However, that does not mean we should forgive and forget everything. Imagine if this was a big 4 pattern? The criticism would have been way stronger. I haven't even mentioned the fact that the instructions are for all the raw edges around the sides and back to just be turned under once and topstitched twice. Finishing the edges is "optional". I mean, what? Again, imagine a big 4 pattern telling us to do that. People would lose it!
Clearly this one needs looking at again and it sounds like it will be. We're all guilty of blaming ourselves and our own shortcomings when projects don't quite work out. Not this time. It's definitely not me. Basic geometry - see above. It's been released for a while, maybe it was one of their first ones. Who knows? I'm sure their patterns are better now but this experience has put me off the Rosari skirt, which has been on my list for years.


